Getting started with the portal
In this article you will learn how to:
- Account switcher (reseller only)
- Locating your splash pages
- Tools and features available
- Basic editing
You need to be logged into your Fydelia account first. Click here for the how-to.
Switch accounts
If you are a reseller managing a multi-tenanted account, each organisation shows as a new account in Fydelia. They are created automatically. To switch between them, just use the drop down:

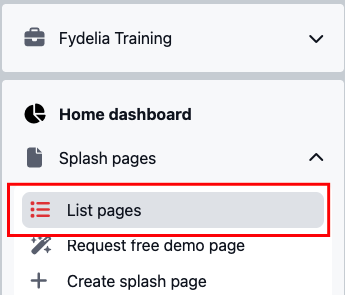
Locating your splash pages
To view and edit your splash pages choose the LIST PAGES from the Splash Pages menu:
The tool bar
When managing your splash pages you will see a list of them with the following tools:
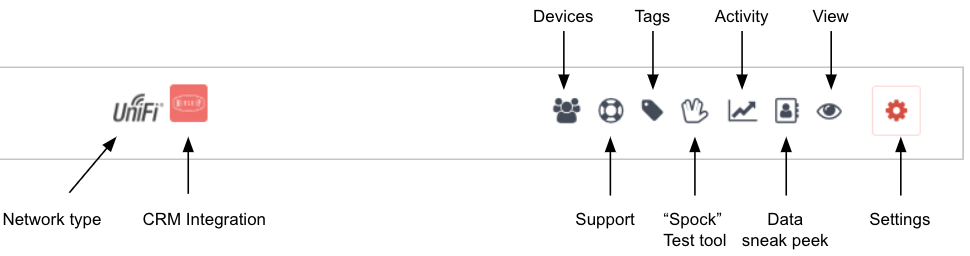
| Network type | This indicates which network vendor the splash page is currently configured for |
| CRM Integration | The CRM integration that is enabled on the page. A page can have more than one at a time |
| Devices | A list of recent guest devices using the page including the device MAC identifier |
| Support | Page design support request |
| Tags | Add tags to your page to make them easier to find when you have many |
| “Spock” test tool | Opens the splash page with dummy device details so that logs can be inspected for issues |
| Activity | Graph showing recent splash page activity |
| Data sneak peek | Table of guest login data from the last 48hrs. Full data available in your CRM, or in the report download area |
| View | View the splash page in a separate browser tab |
| Settings | Clicking this reveals more advanced editing and configuration settings |
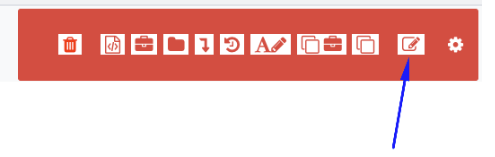
Editing your page
If you wish to change the splash page main logo for example, hover on the settings wheel and click the edit icon:
Then follow these steps:
1. Click EDIT on the logo area

2. Change your logo
Choose a new logo file from your computer:
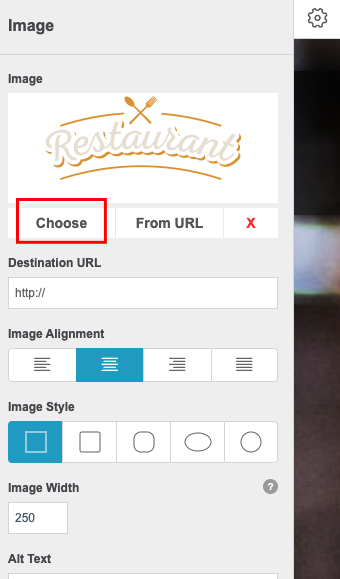
IMPORTANT: Do not use an image URL from another website domain as this may cause issues with the splash page loading. If you do need to use external images, be sure to add those domains to your walled garden settings on your network
3. Save changes
Click SAVE CHANGES at the bottom of the panel
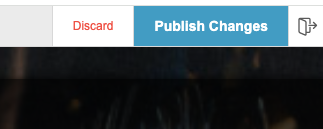
4. Publish
Save your changes and click PUBLISH. You’re all set!